
If you’ve got a swing in your backyard and kids using it regularly, you’re already ahead—you’ve created something fun, active, and outdoors. But here’s the part most people underestimate:
A swing isn’t just a toy. It’s a moving object with momentum, height, and impact risk.
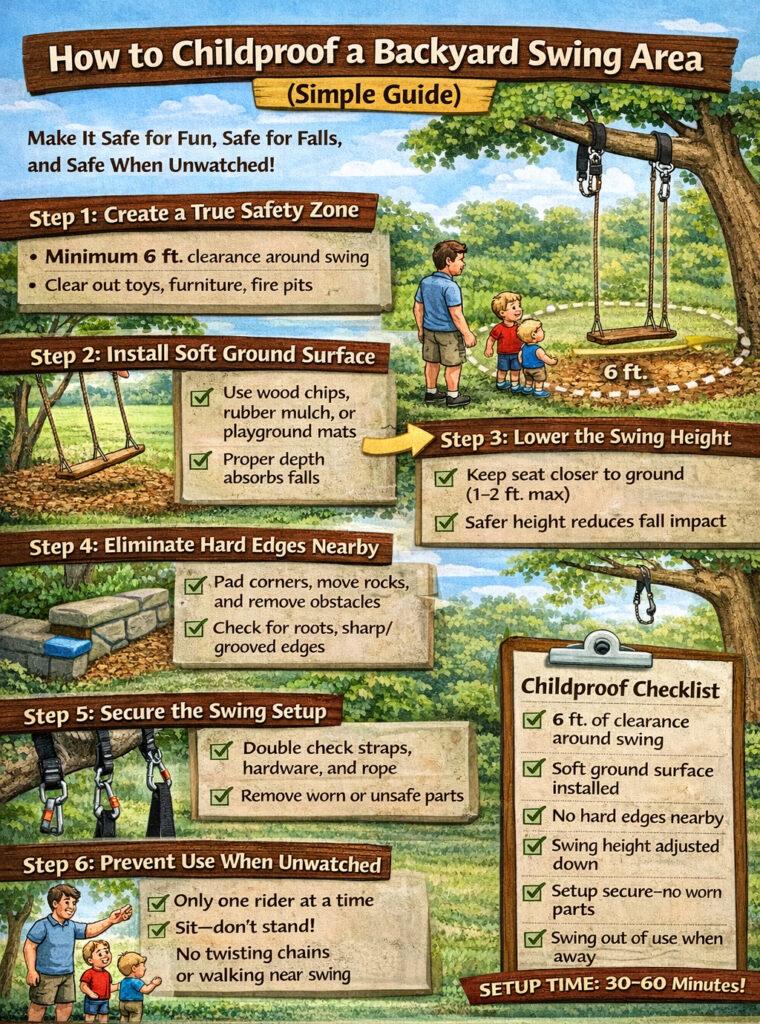
I’ve seen setups that looked perfectly fine until you really walked through them from a safety standpoint. That’s when you notice the tripping hazards, the too-close patio edge, or the hardware sitting right at eye level.
Childproofing a swing area isn’t about making it “perfect”—it’s about removing the most common ways kids get hurt while keeping it usable and fun.
Let’s break it down step-by-step.
Step 1: Create a True Safety Zone (Most Important Step)
Start here before anything else. You want a clear buffer zone around the swing where nothing else exists.
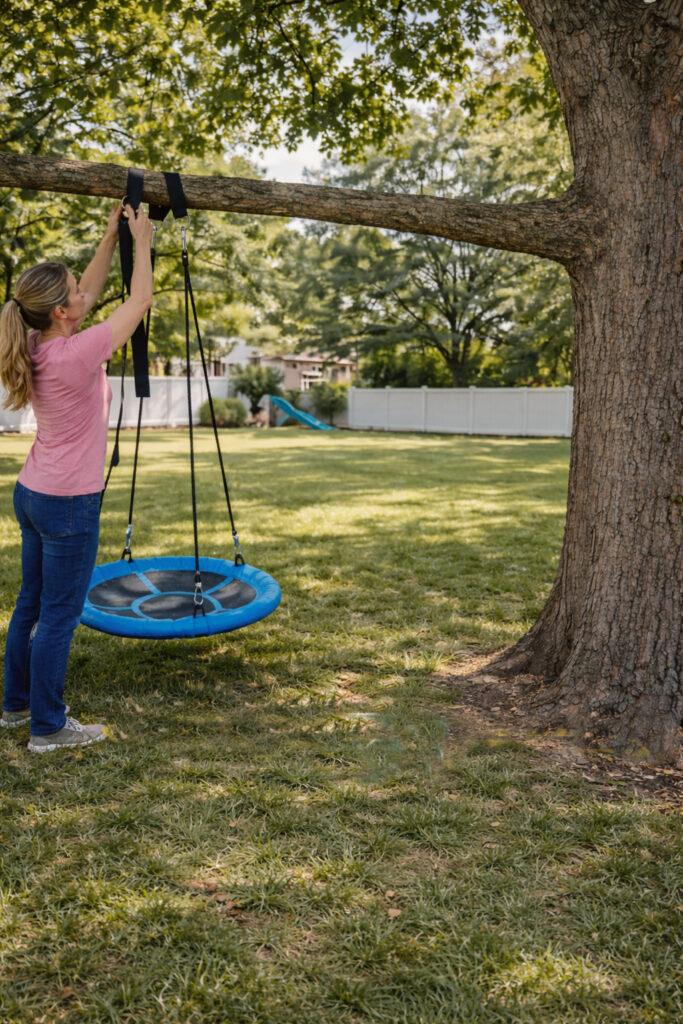
Minimum guidelines:
- 6 feet clearance on all sides
- Front/back clearance = 2x swing height
That means if your swing hangs 8 feet high, you want about 16 feet of clearance front and back.
Remove:
- Furniture
- Toys
- Fire pits
- Planters
- Walking paths
👉 This is the #1 mistake—people install swings inside active living areas.
Time to complete: 15–30 minutes
Step 2: Install a Soft Landing Surface
Grass is better than concrete—but it’s not always enough. If you’re serious about reducing injuries, add:
- Wood chips (6–12 inches deep)
- Rubber mulch
- Playground mats
- Sand
Why this matters:
Most injuries happen from falls—not the swing itself.
Trade-off:
- Better protection = more setup effort
- But this is one of the highest-impact upgrades you can make
Step 3: Lower the Swing Height (Especially for Younger Kids)

Higher swings look more fun—but they increase risk fast.
For younger children:
- Keep the seat closer to the ground (12–24 inches max)
- Toddlers: even lower (6–8 inches)
This:
- Reduces fall impact
- Makes getting on/off easier
- Keeps motion controlled
Step 4: Eliminate Hard Edges and Hazards Nearby
Walk your yard like a kid would.
Look for:
- Sharp corners (benches, tables)
- Rocks or landscaping edges
- Tree roots sticking up
- Retaining walls
If anything is within the swing zone:
- Move it
- Pad it
- Or relocate the swing
Reality check:
Kids don’t fall straight down—they fall sideways, forward, and unpredictably.
Step 5: Secure the Swing Setup Properly
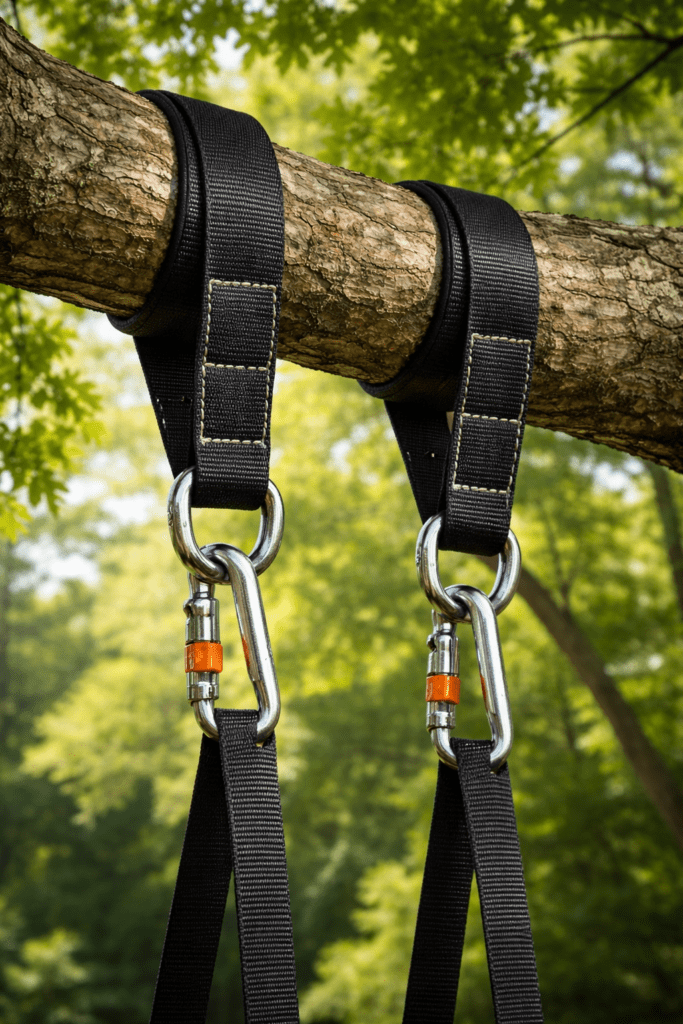
Loose setups are a hidden danger.
Check:
- Straps are tight and not sliding
- Hardware is secure
- No worn rope or fraying
Use:
- Wide straps (2″+)
- Locking carabiners
- Rated hardware
Time to complete: 10–20 minutes
Step 6: Prevent Access When Not in Use
This is a step most people skip—but it matters.
Ideas:
- Clip the swing up out of reach
- Remove the seat temporarily
- Use a gate or barrier
Why:
Kids will try to use it when you’re not watching.
Step 7: Set Clear Rules (And Actually Enforce Them)
Even the best setup can’t fix unsafe behavior.
Simple rules:
- One rider at a time
- Sit, don’t stand
- No twisting chains/ropes
- No walking in front of a moving swing
This is especially important with multiple kids.
Trade-Offs to Think About
| Safety Choice | Benefit | Trade-Off |
|---|---|---|
| Lower height | Safer falls | Less excitement |
| Soft ground | Injury reduction | Installation effort |
| Large safety zone | Fewer collisions | Takes up yard space |
| Straps vs rope | Stability | Slightly higher cost |
Most people try to balance space and safety—but if you have to choose, safety wins.
Realistic Expectations
Let’s keep this grounded.
- Kids will still fall sometimes
- You’ll still need to check things periodically
- The setup will need adjustments over time
Your goal is not zero risk—it’s removing preventable risk.
Printable Checklist: Childproof Your Swing Area

Safety Checklist:
- 6+ feet of clearance on all sides
- Front/back space = 2x swing height
- Soft landing surface installed
- Swing height adjusted for age
- No hard edges or obstacles nearby
- Hardware secure and inspected
- Swing stored safely when not in use
- Rules clearly set and enforced
Time to complete: 30–60 minutes total
Frequently Asked Questions
How far should a swing be from a patio or fence?
At least 6 feet—but more if possible, especially in the direction of motion.
Is grass enough for a swing area?
Not really. It’s better than hard surfaces, but it doesn’t absorb impact well compared to mulch or rubber.
Can I put a swing near a pool?
You can, but it increases risk significantly. Distance and supervision become critical.
Should I anchor the swing area?
The swing itself should be secure—but the area should stay open and obstacle-free rather than anchored.
How often should I check the setup?
Quick check every couple of weeks, plus after storms or heavy use.
Conclusion
Childproofing a swing area isn’t complicated—but it does require intention.
Focus on:
- Space (clear safety zone)
- Surface (soft landing)
- Setup (secure and stable)
- Supervision (consistent)
If you handle those four things, you’ll eliminate the majority of real-world risks. Take an hour, walk your yard, make the adjustments—and you’ll end up with a setup that lets kids play freely without constant worry.